Remember how during last year’s holiday dinner, you optimistically offered your home to host the entire family for the next big get-together?
Fast-forward through the endless winter, the trees blooming again, and back into fall — you’re now only about a month out from Turkey Day. If you’ve been delaying a giant kitchen update or bathroom refresh, the next few fall weekends are the perfect time to make these spaces ready for the upcoming influx of guests (and for your personal enjoyment, too!).
All you need to complete either room upgrade is two big-impact, yet entirely basic DIY, projects: painting cabinetry and changing out your faucet fixtures.
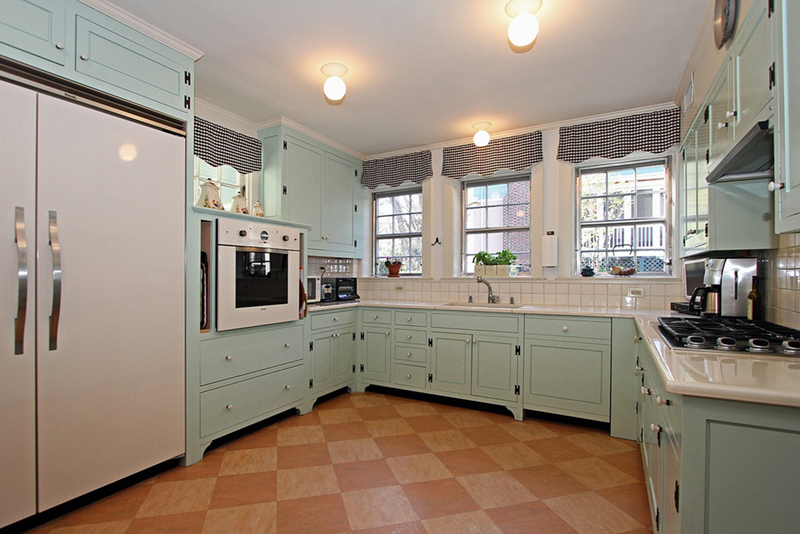
1. Color your cabinets
The beauty of kitchen cabinets truly lies in the eye of the beholder. So if those selected by a previous homeowner still appear in good shape, but just aren’t quite your style, don’t waste big bucks on replacements. Instead, with just a bucket of paint and a free weekend or two, you can give your cabinets a total makeover for very little money.
First, remove all of the hardware — door pulls, hinges, and knobs — and pull out any drawers, doors, or adjustable shelves to be painted separately. Then wipe down all surfaces twice: once with warm soapy water, followed by a clear rinse to remove any dirt, grit, or grease.
Once the cabinets dry, scuff them up with fine, 120- or 140-grit sandpaper to help the primer adhere, and vacuum up all the leftover sawdust.
Next, brush a coat of primer onto all surfaces, and allow it to dry completely. Lightly sand the primer with 400-grit sandpaper, wipe off the dust, and spread on a thin first coat of paint.
Take a two-day break to allow the paint to dry completely, then repeat: sand, wipe, and paint a second coat.
Once that top coat has dried thoroughly, reattach the hinges and hang the doors. Finally, screw in the old hardware or, for a full transformation, add new knobs and pulls to complete the makeover.
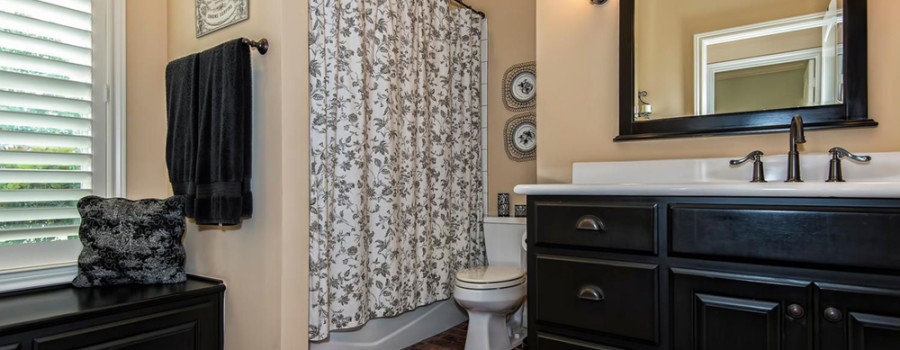
2. Swap out old sink fixtures
Nothing dates a kitchen or bathroom more than an unfashionable faucet — or worse, one that leaks. Simply swapping out this fixture can give your sink or vanity a fresh face while also saving water, thanks to today’s models with built-in aerators that cut water usage by up to one-third.
Lucky for you, it’s one project that’s easy enough to pick up on your own. When you’re ready to replace the faucet, shut off the water supply via the valves under the sink. Disconnect the supply lines from the faucet using an adjustable wrench or, for better reach, a basin wrench.
Then undo the left rod, remove the nuts from under the faucet, and unscrew the slip nut on the trap. Slide a bucket underneath your plumbing to catch any water that drains out, and unscrew the drain flange from the tailpiece.
Follow the manufacturer’s directions for installing the new faucet through the mounting holes in the sink. Then, reconnect the drain: Screw the drain nut all the way down on the drain body, and push the gasket over it.
Apply a small amount of silicone under the flange, and position the drain body on the bottom of the sink, making sure that the pivot hole is facing the back, and then screw the flange on from the top. Tighten the nut and gasket underneath.
Install the drain rod by unscrewing the pivot nut on the drain body and inserting the horizontal rod through the hole in the stopper; replace the nut. Push the horizontal rod down, and secure the lift rod to the strap with the screw.
Finally, reconnect the supply lines to the faucet and give it a go, turning on the hot and cold water for about a minute. While the water is running, check all the connections for leaks and tighten any, if necessary.
Then wash your hands of all the hard work, and relax knowing that your home is guest-ready.
come perdere peso
perdere 10 kg in una settimana